Overwintering Colocasia tubers
By chance, a fool proof (so far) method of overwintering Colocasia tubers was stumbled upon. On this page some of the problems encountered when trying to overwinter Colocasia esculenta are mentioned. As a result of these problems, at the end of the growing season, Colocasias were generally chopped up and added to the compost heap. Another reason for this nonchalant behaviour lay in the ease and low cost of replacement tubers in this particular neck of the woods.
One year when turning over the compost heap, it was noticed that several tubers had not been composted and were in fact, actively growing. With this in mind it was decided to see if this would be a feasible method to overwinter Colocasia esculenta tubers.
Preparing The Colocasia Tubers
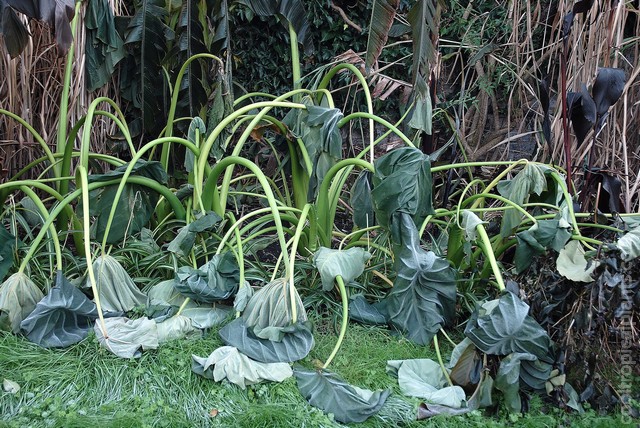
- Once the frost has knocked out the foliage, cut off the foliage and dig up the tubers.
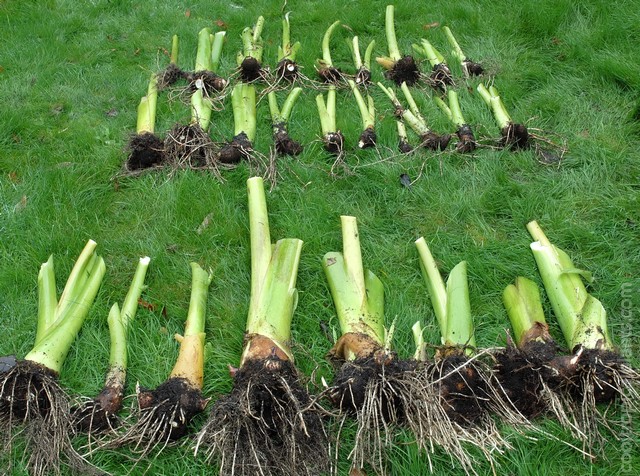
- Shake off as much soil as possible. Knocking the plants gently on the back of a garden fork can help in this operation.
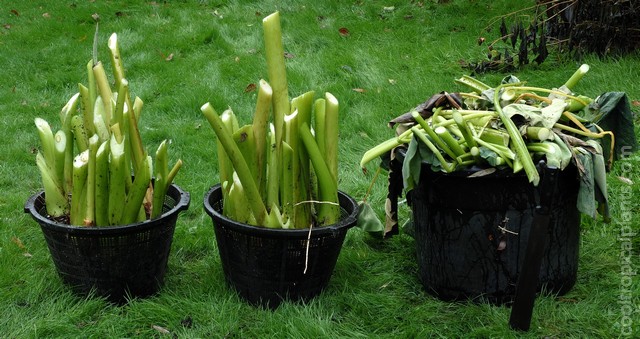
- In order that your Colocasia tubers do not get lost in the compost heap it is a good idea to place them in a rot proof, well draining container such as a pond basket. The tub on the right contains the foliage. The length of stem remaining on the tubers is simply there to help you stack the plants in a vertical position, it will rot down in the compost heap.
Storing The Tubers
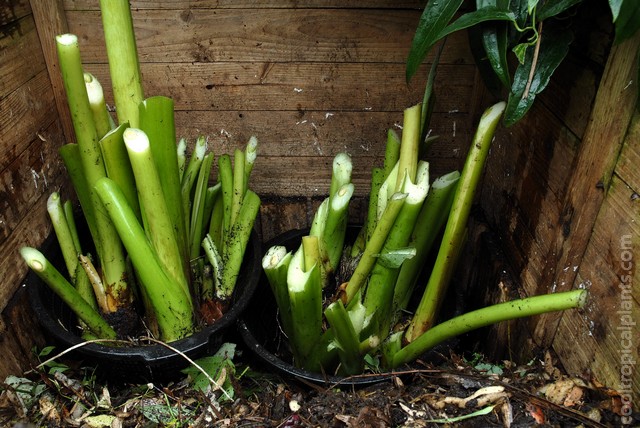
- The pond baskets are then placed into the compost bin. Dig a trough in the compost and submerge the baskets. (The compost in the bin has been in decomposition for about 8/9 months at this stage).
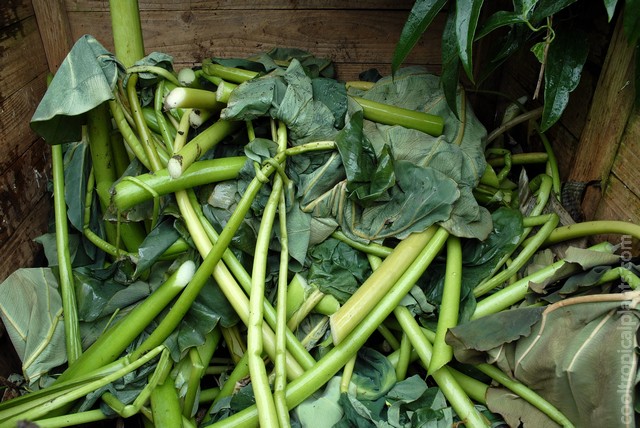
- Then the frosted foliage is dumped on top of them along with any other frosted foliage that may be lying around to top up the bin. (Continue adding kitchen and other plant waste to the compost bin in the usual manner.)
It should be noted that this method of overwintering Colocasia tubers has altered the compost making routine outlined in the link at the top of the page. Previously the whole 'turning of the compost heap' palava would take place once the first frosts had knocked out most of the plants in the garden.
The mature side of the compost bin would have been emptied and spread over the garden. The semi rotted stuff turned over into the now empty maturing side of the bin and all the frosted stuff from the garden would have been dumped into the now empty 'fill' side of the compost double bin set up.
Now the Colocasia tubers are added to the 'fill' side of the compost bins directly on top of (dug into) the existing semi rotted compost without turning anything over. They are covered by whatever will fit into the space available. This can leave a lot of surplus frosted foliage with nowhere to go. This excess frosted foliage, canna stems etc can be spread over the soil to protect any delicate tubers or rhizomes from further frosts. It is a little unsightly but does create an effective barrier to cold.
The compost bins are now emptied and refilled in April/March so that you can access your tubers that have been overwintering in the compost.
Re-starting The Colocasia Tubers
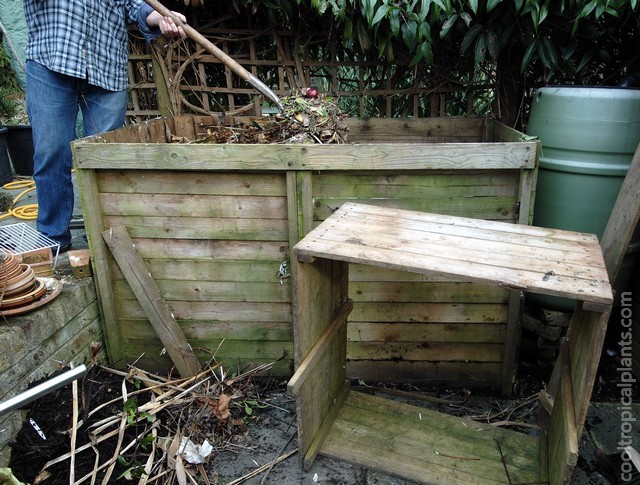
- Come the spring (in this instance early March) it is time to turn over the compost bins. Spread the mature compost over the garden. Then with a bit of care, begin turning the semi mature compost into the matturing bin. At some point you should come across the pond baskets which will now be filled with slimy and worm encrusted tubers.
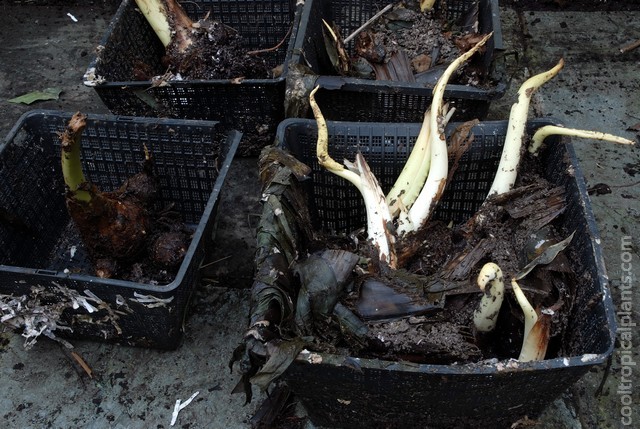
- The eagle eyed amongst you will have noticed that these are not the same pond baskets as shown higher up the page. The tubers are the same, in fact they went on to produce the plants at the top of the page. It was felt the image was perhaps better suited to manage your disgust expectations.
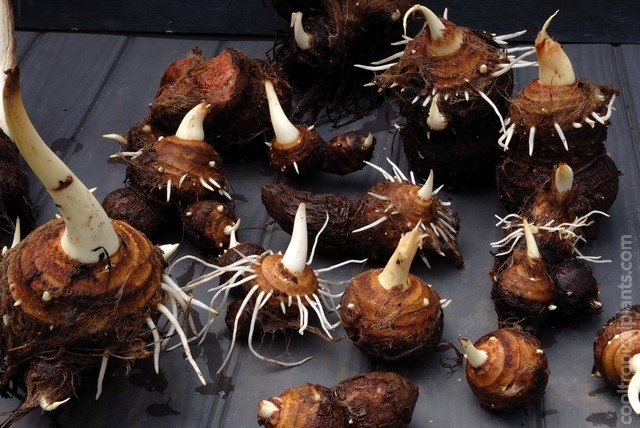
- After a good hose down the tubers (from the round pond basket) are ready for potting up in the greenhouse.
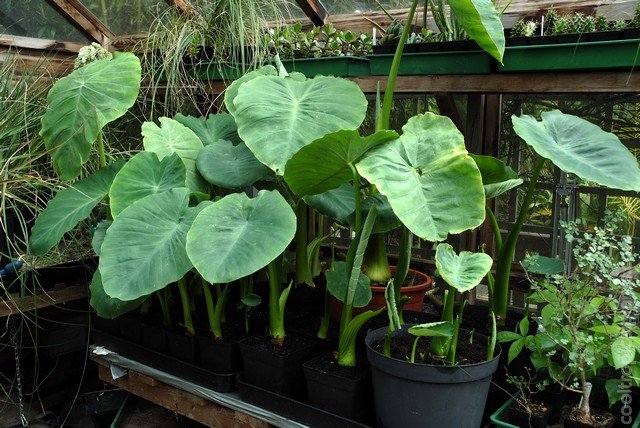
- By late May they are motoring along.
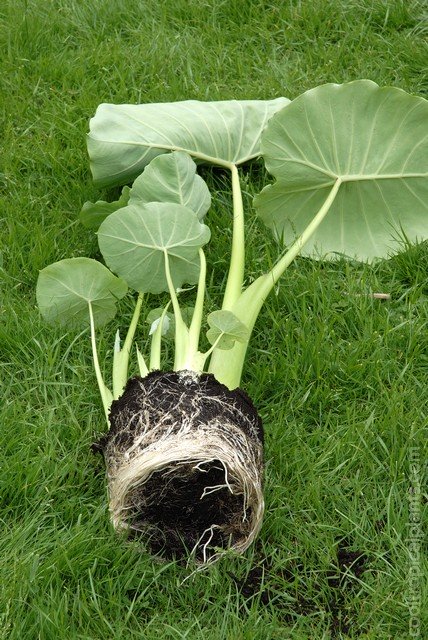
- Root formation by early June.
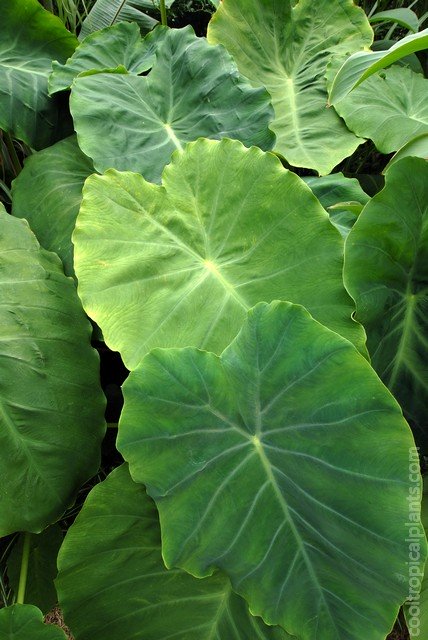
- Jostling for position by August.
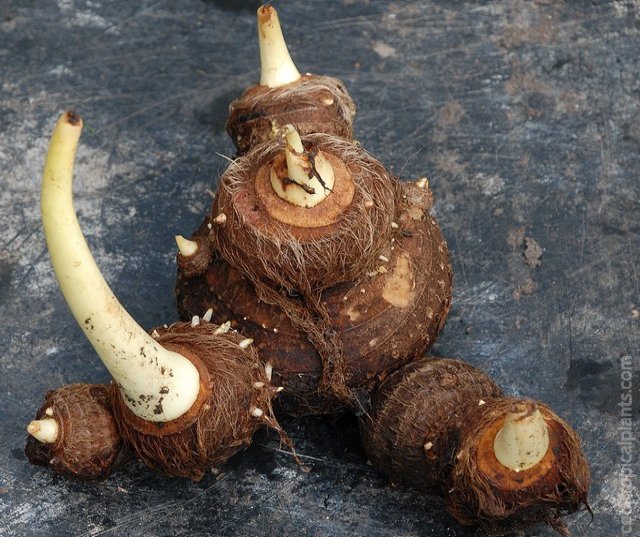
- Once your Colocasia tubers have been through the mill a few times they begin to gain a bit of weight.
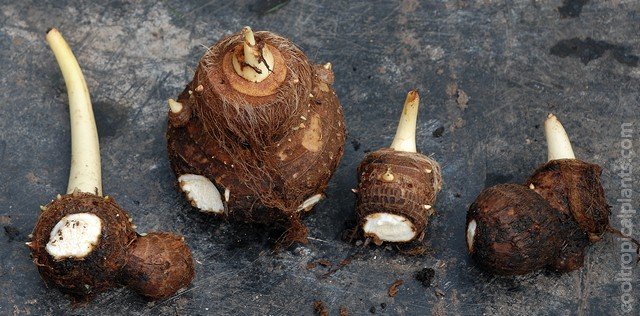
- The smaller tubers can be snapped off and potted up separately. Removing the smaller tubers is said to increase the size of the leaves but no dicernible difference was noticed. You do of course though end up with lots more plants to play with.
This method has only been attempted with Colocasia esculenta but there is no reason to assume it will not work with other commonly available elephant ear type plants.

